Well, after I scripted the installation the other day, I tried installing SLES11.1-Updates to the freshly installed systems. Guess what ? The thing broke. Initially (it was late Friday afternoon – like 6 PM – before my one week vacation) I didn’t have much time to debug the issue, so I sat down last week and looked at the issue.
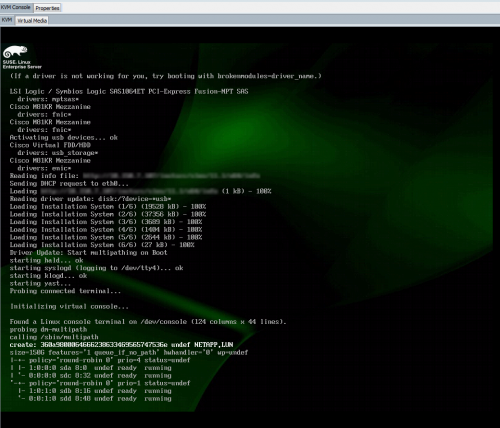
During the installation, when first starting multipath via command line, the scsi-mpatha device appears, and each and every occurance of this is subsequentially being used (and other stuff replaced by this actually) during the whole installation phase.
But what is this multipath-tools update doing ? No clue what exactly, however after installing the update the system is bricked. The system is basically looking for /dev/scsi/by-id/scsi-disk-mpatha and waiting for this device to appear. But since the update robbed the device, the system is no longer starting.
So I went ahead and digged around in the /dev/disk/by-id directory. Turns out /dev/disk/by-id/scsi- is actually pointing to the right device, and thus I ended up using it. So I rewrote all my scripts (profile and chroot/post-chroot adjustments) as you can see below, and for now at least, I have a working installation that lets you install updates! (careful it gots electrolytes)
|
1 2 3 4 5 6 7 8 9 10 11 12 13 14 15 16 17 18 19 20 21 22 23 24 25 26 27 28 29 30 31 32 33 34 35 36 37 38 39 40 41 42 43 44 45 46 47 48 |
#!/bin/bash cat << EOF > /etc/multipath.conf defaults { user_friendly_names no bindings_file /etc/multipath_bindings } devices { device { vendor "NETAPP" product "LUN" getuid_callout "/lib/udev/scsi_id -g -u --device=/dev/%n" features "1 queue_if_no_path" hardware_handler "1 alua" path_checker tur path_selector "round-robin 0" path_grouping_policy group_by_prio failback immediate rr_weight uniform rr_min_io 128 prio alua max_fds max } } EOF sleep 1 # Disable the resume kernel sed -e "s,resume=/dev/mapper/.*_part[0-9],noresume,g" -i /etc/sysconfig/bootloader /boot/grub/menu.lst # Figure out the multipath ID MD_ID="$( /sbin/multipath -l | head -n1 | cut -d -f1 )" # Fix wrong root-path in /etc/fstab sed -i "s/mapper/.*_part/disk/by-id/scsi-${MD_ID}-part/" /etc/fstab # Fix grub root-path and wrong root-partition sed -i -e "s/mapper/.*_part/disk/by-id/scsi-${MD_ID}-part/" -e "s,scsi-${MD_ID}-part2,scsi-${MD_ID}-part3," /boot/grub/menu.lst # Fix the device.map echo -e "(hd0)t/dev/disk/by-id/scsi-${MD_ID}" > /boot/grub/device.map sleep 1 mkinitrd -f multipath |
Now what’s left to do for tomorrow is “fixing” the already (previous to those changes) installed systems, so we can install security updates on those too!
